
Dateline: 29 January 2017
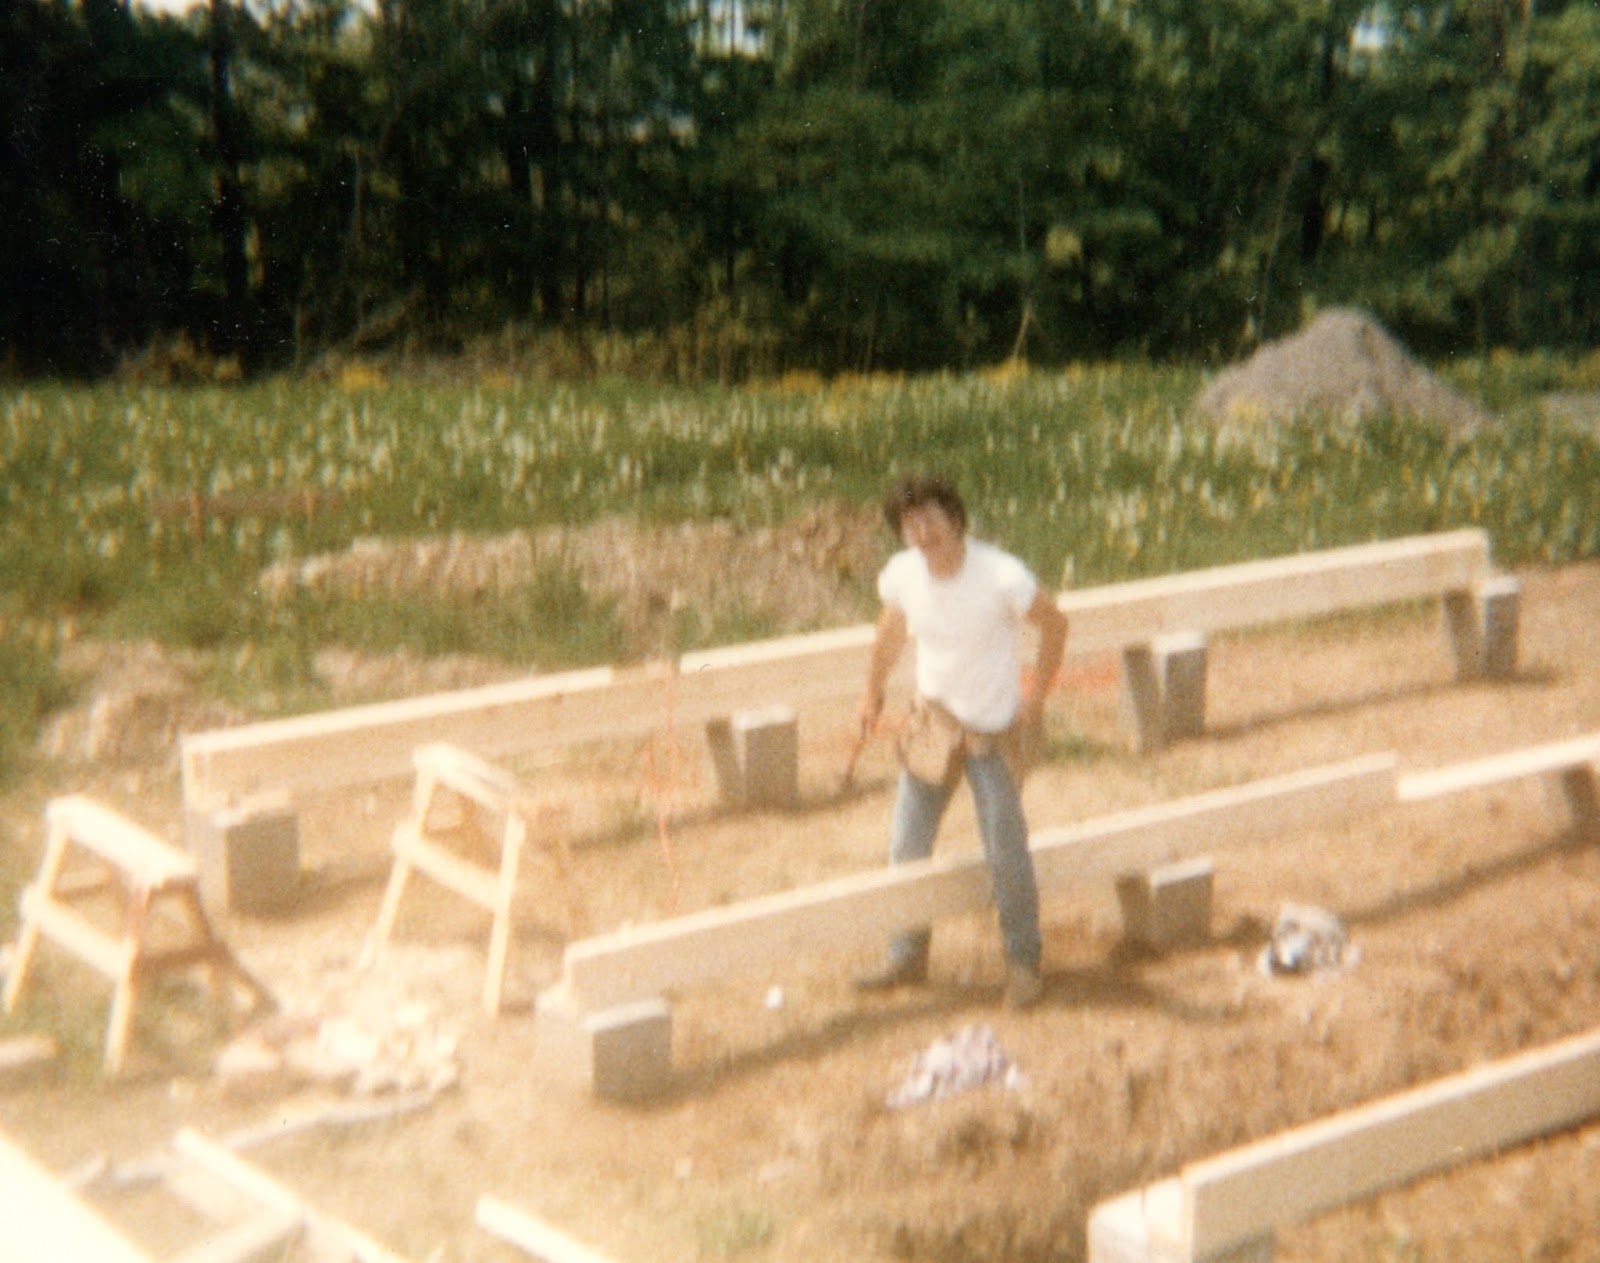
In Part 2 of This Series I showed pictures of Marlene and I putting in the foundation for our 16' x 24' dream home back in 1983. Twelve concrete piers for a house. That was it. It's a cheap foundation and an adequate one. A full basement, or even a partial one with a taller crawl space would have been better, but we were working with limited skills and a very limited budget.
In retrospect, I think it was providential that I did not try to put in a full basement back then. It would have been a major crisis, as I'll explain in an upcoming post.

The floor frame is 2x6 lumber. I nailed a 3/4" x 3/4" strip of wood along the bottom edge of each joist, then fit strips of 1/2" waferboard between the joists. This created a sealed bottom on the whole floor. Then I laid 6" fiberglass insulation in the joist cavities (on top of the waferboard) and put 3/4" plywood decking on top. This has worked out well for 34 years. When I have to crawl under the house for something, I do not have to deal with exposed or falling-down insulation.

I sincerely wanted to build a timber framed house. But my time for building our dream home was significantly limited. I was working full-time as a carpenter's helper. I decided that I just didn't have the time to do a proper timber frame. But I did incorporate one timber-framed wall into the house.

I had the timbers cut by a local sawmill. The wood is hemlock. It was not kiln dried, and it was very heavy. I drove home real slow with those beams on the back of my F100 pickup, and I actually broke a couple of leaf springs.
I took my time marking and chiseling the posts, beam, and braces. It was a labor of love. I was so excited to be making timber-frame joints. I assembled the parts with pegs. Today, that one wall gives the inside of our house some unique character. Here is a picture I took recently of the middle post, beam, and braces...

What isn't visible in the picture is the neat connection I made where the two top beams join over the post. I wish I took a picture of it when I made it, but we took precious few pictures back then. If you click on the picture and look at the enlarged view, you can see the pencil layout lines I made back in '83 on the bottom of the angle braces.
The joints in the beams open in the winter, as the wood dries down, and close in the summer. One of the (many) little mistakes I made in this house is the ceiling height. The finished ceiling is only 7'2" tall. If I ever do build a retirement home, the ceilings will be much higher.

After the timber-framed wall was up in the back, I framed the front wall. If you look close in the picture above, you can see that I made notches on the inside of the 2x6 studs to inset a 2x6 plate for the 2nd floor's joists to rest on. But the notches are not lined up properly. Another little mistake.
The people in the picture are me (on left), my friend Art Dillon, and Mary & Kenny Pearsall. Art died of cancer back in 2002. Kenny and Mary are still close friends.
After those two walls were up, my plan was to take a one-week vacation from my job and frame up the rest of the house. I hired two high school kids from our church to help.
Before my helpers came I had all the materials for the framing and sheathing delivered...

In my next blog post I'll show you what we managed to get done in the one week of house framing.
to go to Part 4 of this series.
Had a long winded comment to make, typed it all out and hit a key somewhere and it all went away!! And that is where it will stay! To make it shorter, this should suffice, 'Been there, done that" mistakes and all! Can't wait till tomorrow!
ReplyDeleteme too! can't wait til the next post!
ReplyDeleteFun reading -
ReplyDeleteRegards, Muns